
Installing Agent Control Center Using PowerShell on Windows Server
PowerShell can be used to install the Agent Control Center on a Windows Server quickly and easily. First confirm that the prerequisite setup of the SQL Server 2016+ database is installed and ready for use. Once confirmed, simply execute the below Powershell commands step by step with Administrator privileges on the Windows Server to quickly get the Agent Control Center up and running.
1. Enable the Web Server (IIS) using PowerShell
Install-WindowsFeature -name Web-Server -IncludeManagementTools
2. Install the .NET Core 3 Hosting Bundle
Start-Process -FilePath "<dotnet-hosting.exe FILEPATH ON THE SERVER>" -ArgumentList "/silent"
3. Running Agent Control Center Setup using PowerShell
Start-Process -FilePath "<AGENT CONTROL CENTER SETUP.EXE FILEPATH>" -ArgumentList "/silent"
Please note that the above command will install the Agent Control Center at the default installation path which is C:/AgentControlCenter. If you want to change the default installation path then you can use the below command to specify your desired location path for the Agent Control Center installation.
Start-Process -FilePath "<SETUP.EXE PATH>" -ArgumentList "/dir=<YOUR_DESIRED_PATH> /silent"
4. Add Agent Control Center Database and other configuration settings by sending a POST REST request using PowerShell
$headers = New-Object "System.Collections.Generic.Dictionary[[String],[String]]"
$headers.Add("Content-Type", "application/json")
$body = "{"url":"<http://localhost:8010","organizationName":"Sequentum","rootUsername":"<ROOT_USERNAME>","rootPassword":"<ROOT_PASSWORD>","confirmRootPassword":"<ROOT_PASSWORD>","databaseHost":"EC2AMAZ-2VA2TVO\\\SQLEXPRESS","databaseName":"AgentControlCenter","isCreateDatabase":true,"isCreateTables":true,"isUpdateDatabase":true,"isTrusted":false,"databaseUsername":"sa","databasePassword":"<DB_PASSWORD>","isEmailEnabled":true,"emailHost":"<EMAIL_HOST>","emailPort":25,"emailThresholdPerDay":3000,"emailsRemainingForTheDay":0,"emailLogRetention":0,"isEmailSsl":false,"emailUsername":"<EMAIL_USERNAME>","emailPassword":"<EMAIL_PASSWORD>","senderAddress":"<SENDER>@address","isNew":true,"isMicrosoftEnabled":false,"microsoftTenantId":"","microsoftClientId":"","isGoogleEnabled":false,"googleClientId":"","isDefaultKey":true,"hasKey":false,"key":null}">
$response = Invoke-RestMethod 'http://localhost:8010/api/app-config' -Method 'POST' -Headers $headers -Body $body
$response | ConvertTo-Json;
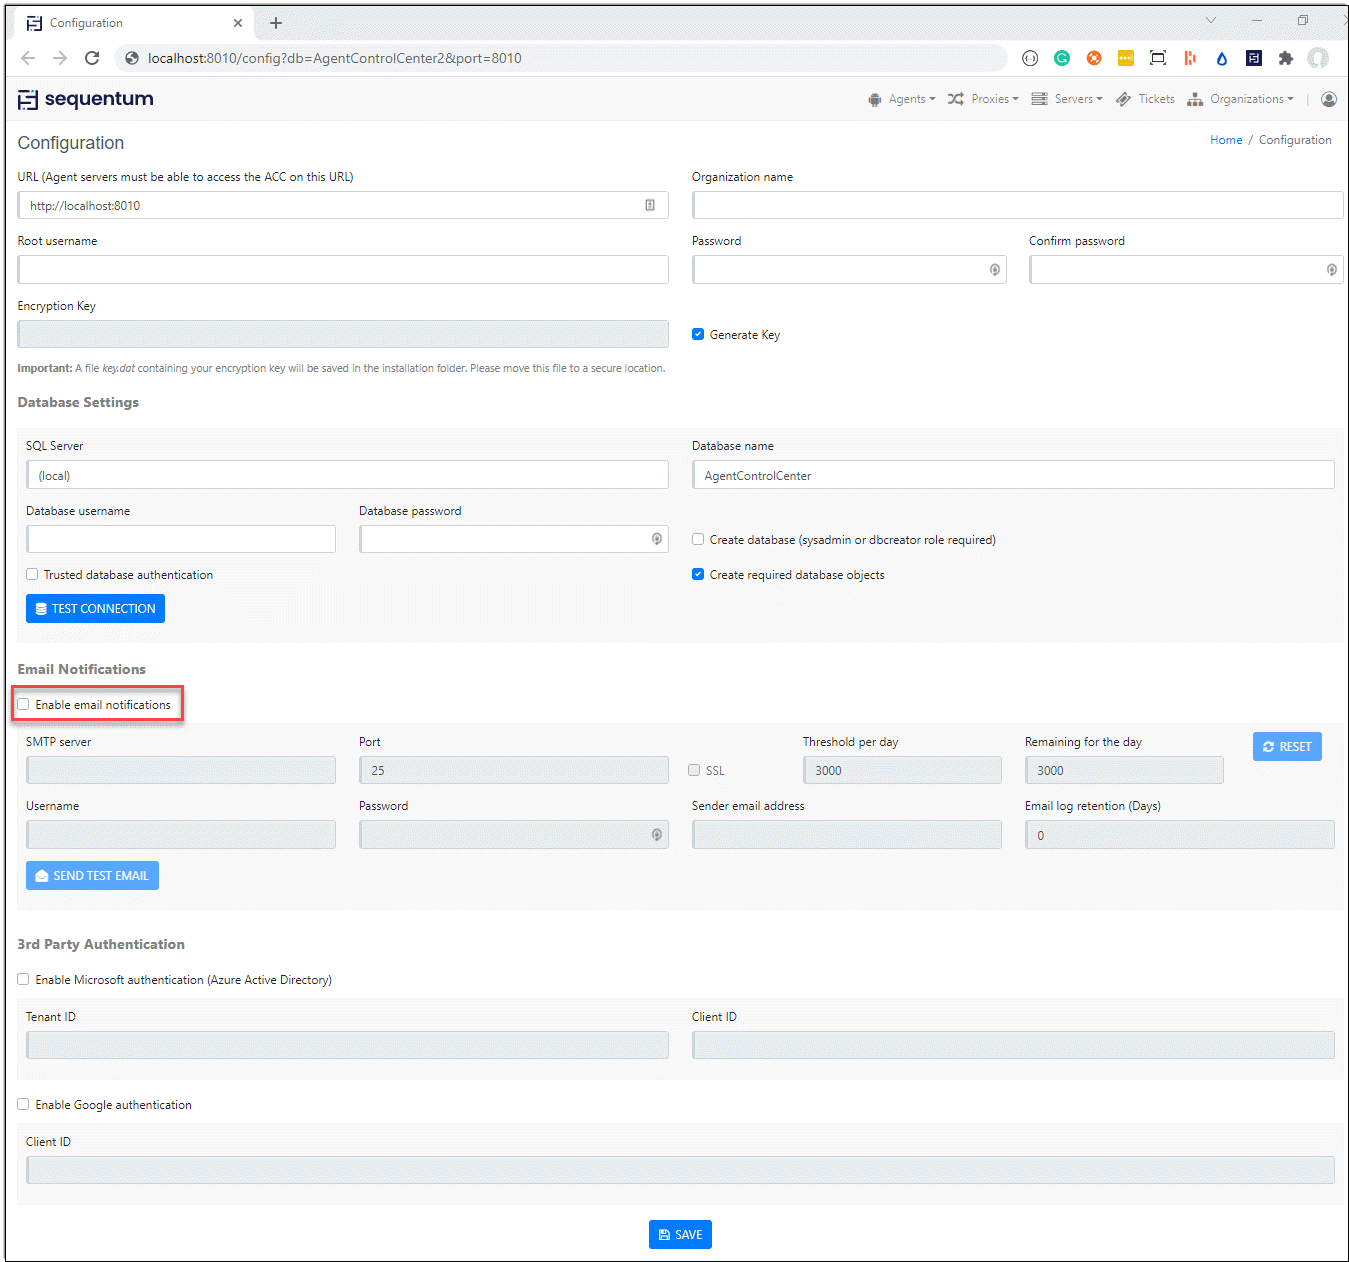
Body Parameters: The body parameters are used to create the acc.config file that stores the Agent Control Center configurations added on the configuration page http://localhost:8010/config
url - The default URL for your ACC (Agent Control Center) will be your external IP address with port 8010. If you have a domain name mapped to your external IP address, then you can enter it here, but leave it as default for now, and you can come back and edit the URL later.
organizationName - Enter an Organization name. This will be the name of your first organization, but you can edit this organization and add more organizations later. The organization name will normally be the name of your company but can be any name.
rootUsername - Add a Super Admin user to your organization. The Super Admin user will have access to everything in the ACC, including adding new organizations and users.
rootPassword - Add a password for your Super Admin user.
databaseHost - Enter your ACC database host address to connect to your AgentControlCenter SQL Server database.
databaseName - Enter your desired database name to connect to your AgentControlCenter database. The deafult value is AgentControlCenter.
isCreateDatabase (optional - default value is false) - If true, the AgentControlCenter will be created on your SQL Server database. Set it to false if you already have the AgentControlCenter database.
isCreateTables - (optional - default value is true) - Set it to false if you already have the AgentControlCenter database setup on you SQL Server setup.
isUpdateDatabase - Always set it to true so that your database gets updated with any new tables or table columns.
isTrustedfalse (optional - default value is false) - Set it to true if you want to create a trusted database connection.
databaseUsername - Enter your database username.
databasePassword - Enter your database password.
isEmailEnabled (optional - default value is false)- Set it true if you want to receive email notifications on certain events, such as when a job or run fails. you need to enter the details of an email SMTP server that can send out these emails. This could simply be your Gmail account or any other online email account you have, but we recommend you use a dedicated SMTP service if you have a large number of agents as online email accounts often limits the number of emails you can send during a given time period.
emailHost - Add the hostname of your SMTP server that can send out the failure or success emails.
emailPort (default value is 25) - Add your SMTP port to connect to your SMTP server.
emailThresholdPerDay (optional - default value is 3000) - Add this parameter value if you want to change the default email threshold per day.
emailsRemainingForTheDay (optional - default value is 0) - You can leave this parameter with its default value.
emailLogRetention(optional - default value is 0) - You can leave this parameter with its default value. Add any value greater than 0 will start generating .eml files in the ACC logs folder. The .eml files get cleaned on the basis of the retention period.
isEmailSsl (optional - default value is false) - If set to true you will need to add the SSL port in the emailPort field.
emailUsername - Add your SMTP server email username.
emailPassword - Add your SMTP server email password.
senderAddress - Add the Sender's email address that will send out the emails. Make sure your SMTP server allows this email address to send emails.
Output:
{
"token": "eyJhbGciOiJIUzI1NiIsInR5cCI6IkpXVCJ9.eyJodHRwOi8vc2NoZW1hcy54bWxzb2FwLm9yZy93cy8yMDA1LzA1L2lkZW50aXR5L2NsYWltcy9uYW1laWRlbnRpZmllciI6InJvb3QiLCJodHRwOi8vc2NoZW1hcy54bWxzb2FwLm9yZy93cy8yMDA1LzA1L2lkZW50aXR5L2NsYWltcy9uYW1lIjoicm9vdCIsImh0dHA6Ly9zY2hlbWFzLnhtbHNvYXAub3JnL3dzLzIwMDUvMDUvaWRlbnRpdHkvY2xhaW1zL2VtYWlsYWRkcmVzcyI6Imxva2VzaC5jaGFuZHJhQHNlcXVlbnR1bS5jb20iLCJTdGFtcCI6ImM1YjQ3ZDFhLWMzMWEtNGVkNS1hZDg3LWY1ODEyMWM2YjFhOCIsIlJlcXVpcmVUd29GYWN0b3IiOiJGYWxzZSIsImFtciI6InB3ZCIsIm5iZiI6MCwiZXhwIjoxNjM5MjIxODUyLCJpc3MiOiJTZXF1ZW50dW0iLCJhdWQiOiJDb250ZW50IEdyYWJiZXIifQ.Mw1Cf5KYW7Cr-duJun-AQ6iRdFfGg0iYThHm_yaxLRQ",
"expiryDate": "2021-12-11T11:24:12.5567101+00:00",
"isTwoFactorVerified": false
}
5. Add a Server to Agent Control Center by sending a POST REST request using PowerShell
$headers = New-Object "System.Collections.Generic.Dictionary[[String],[String]]"
$headers.Add("Authorization", "Bearer <BEARER_TOKEN>")
$headers.Add("Content-Type", "application/json")
$body ="{`"name`":"<NAME OF THE SERVER>`",`"key`":"<SEQUETUM ENTERPRISE SERVER LICENSE KEY>`",`"ipAddress`":`"127.0.0.1`",`"port`":8004,`"cpuThreshold`":"90","memoryThreshold`":90,`"`sessionThresholdv":35,`"localPath`":`"C:/AgentControlCenter`",`"isDefaultLocalPath`":false,`"useSsl`":false}"
$response = Invoke-RestMethod 'http://localhost:8010/api/server' -Method 'POST' -Headers $headers -Body $body
$response | ConvertTo-Json
NOTE:
Adding a Server to Agent Control Center will need a <BEARER_TOKEN> and the token can be used from the response Output of the POST request to add the Agent Control Center Config Settings.